

Burglar Alarm Systems: Complete Guide for Security Professionals
In today’s increasingly complex security landscape, burglar alarm systems serve as a critical first line of defense for both residential and commercial properties. For B2B buyers in the security industry—such as system integrators, facility managers, procurement officers, and security consultants—understanding the full scope of burglar alarm technology is not just beneficial, but essential.
This comprehensive guide explores the architecture, components, design strategies, installation protocols, integration techniques, maintenance best practices, legal compliance considerations, and future innovations associated with burglar alarm systems. Whether you’re procuring a solution for a high-risk site or advising clients on deployment, this expert-level guide will equip you with the knowledge to make informed, cost-effective, and security-optimized decisions.
1. Understanding Burglar Alarm Systems: Purpose and Architecture
1.1 What Is a Burglar Alarm System?
A burglar alarm system is an electronic setup designed to detect unauthorized intrusion into protected areas such as homes, offices, warehouses, and restricted zones. Once a breach is detected, the system triggers a response, such as sounding an alarm or notifying monitoring personnel, thereby reducing the risk of theft, vandalism, or harm.
1.2 Primary Objectives
- Deterrence – Discourages unauthorized access through visible alarm equipment and signage.
- Detection – Identifies intrusion attempts using motion sensors, magnetic contacts, and glass break detectors.
- Notification – Alerts users, monitoring centers, or emergency responders.
- Response – Initiates appropriate reactions, including sirens, remote alerts, or law enforcement dispatch.
1.3 System Architecture
A standard burglar alarm system comprises the following:
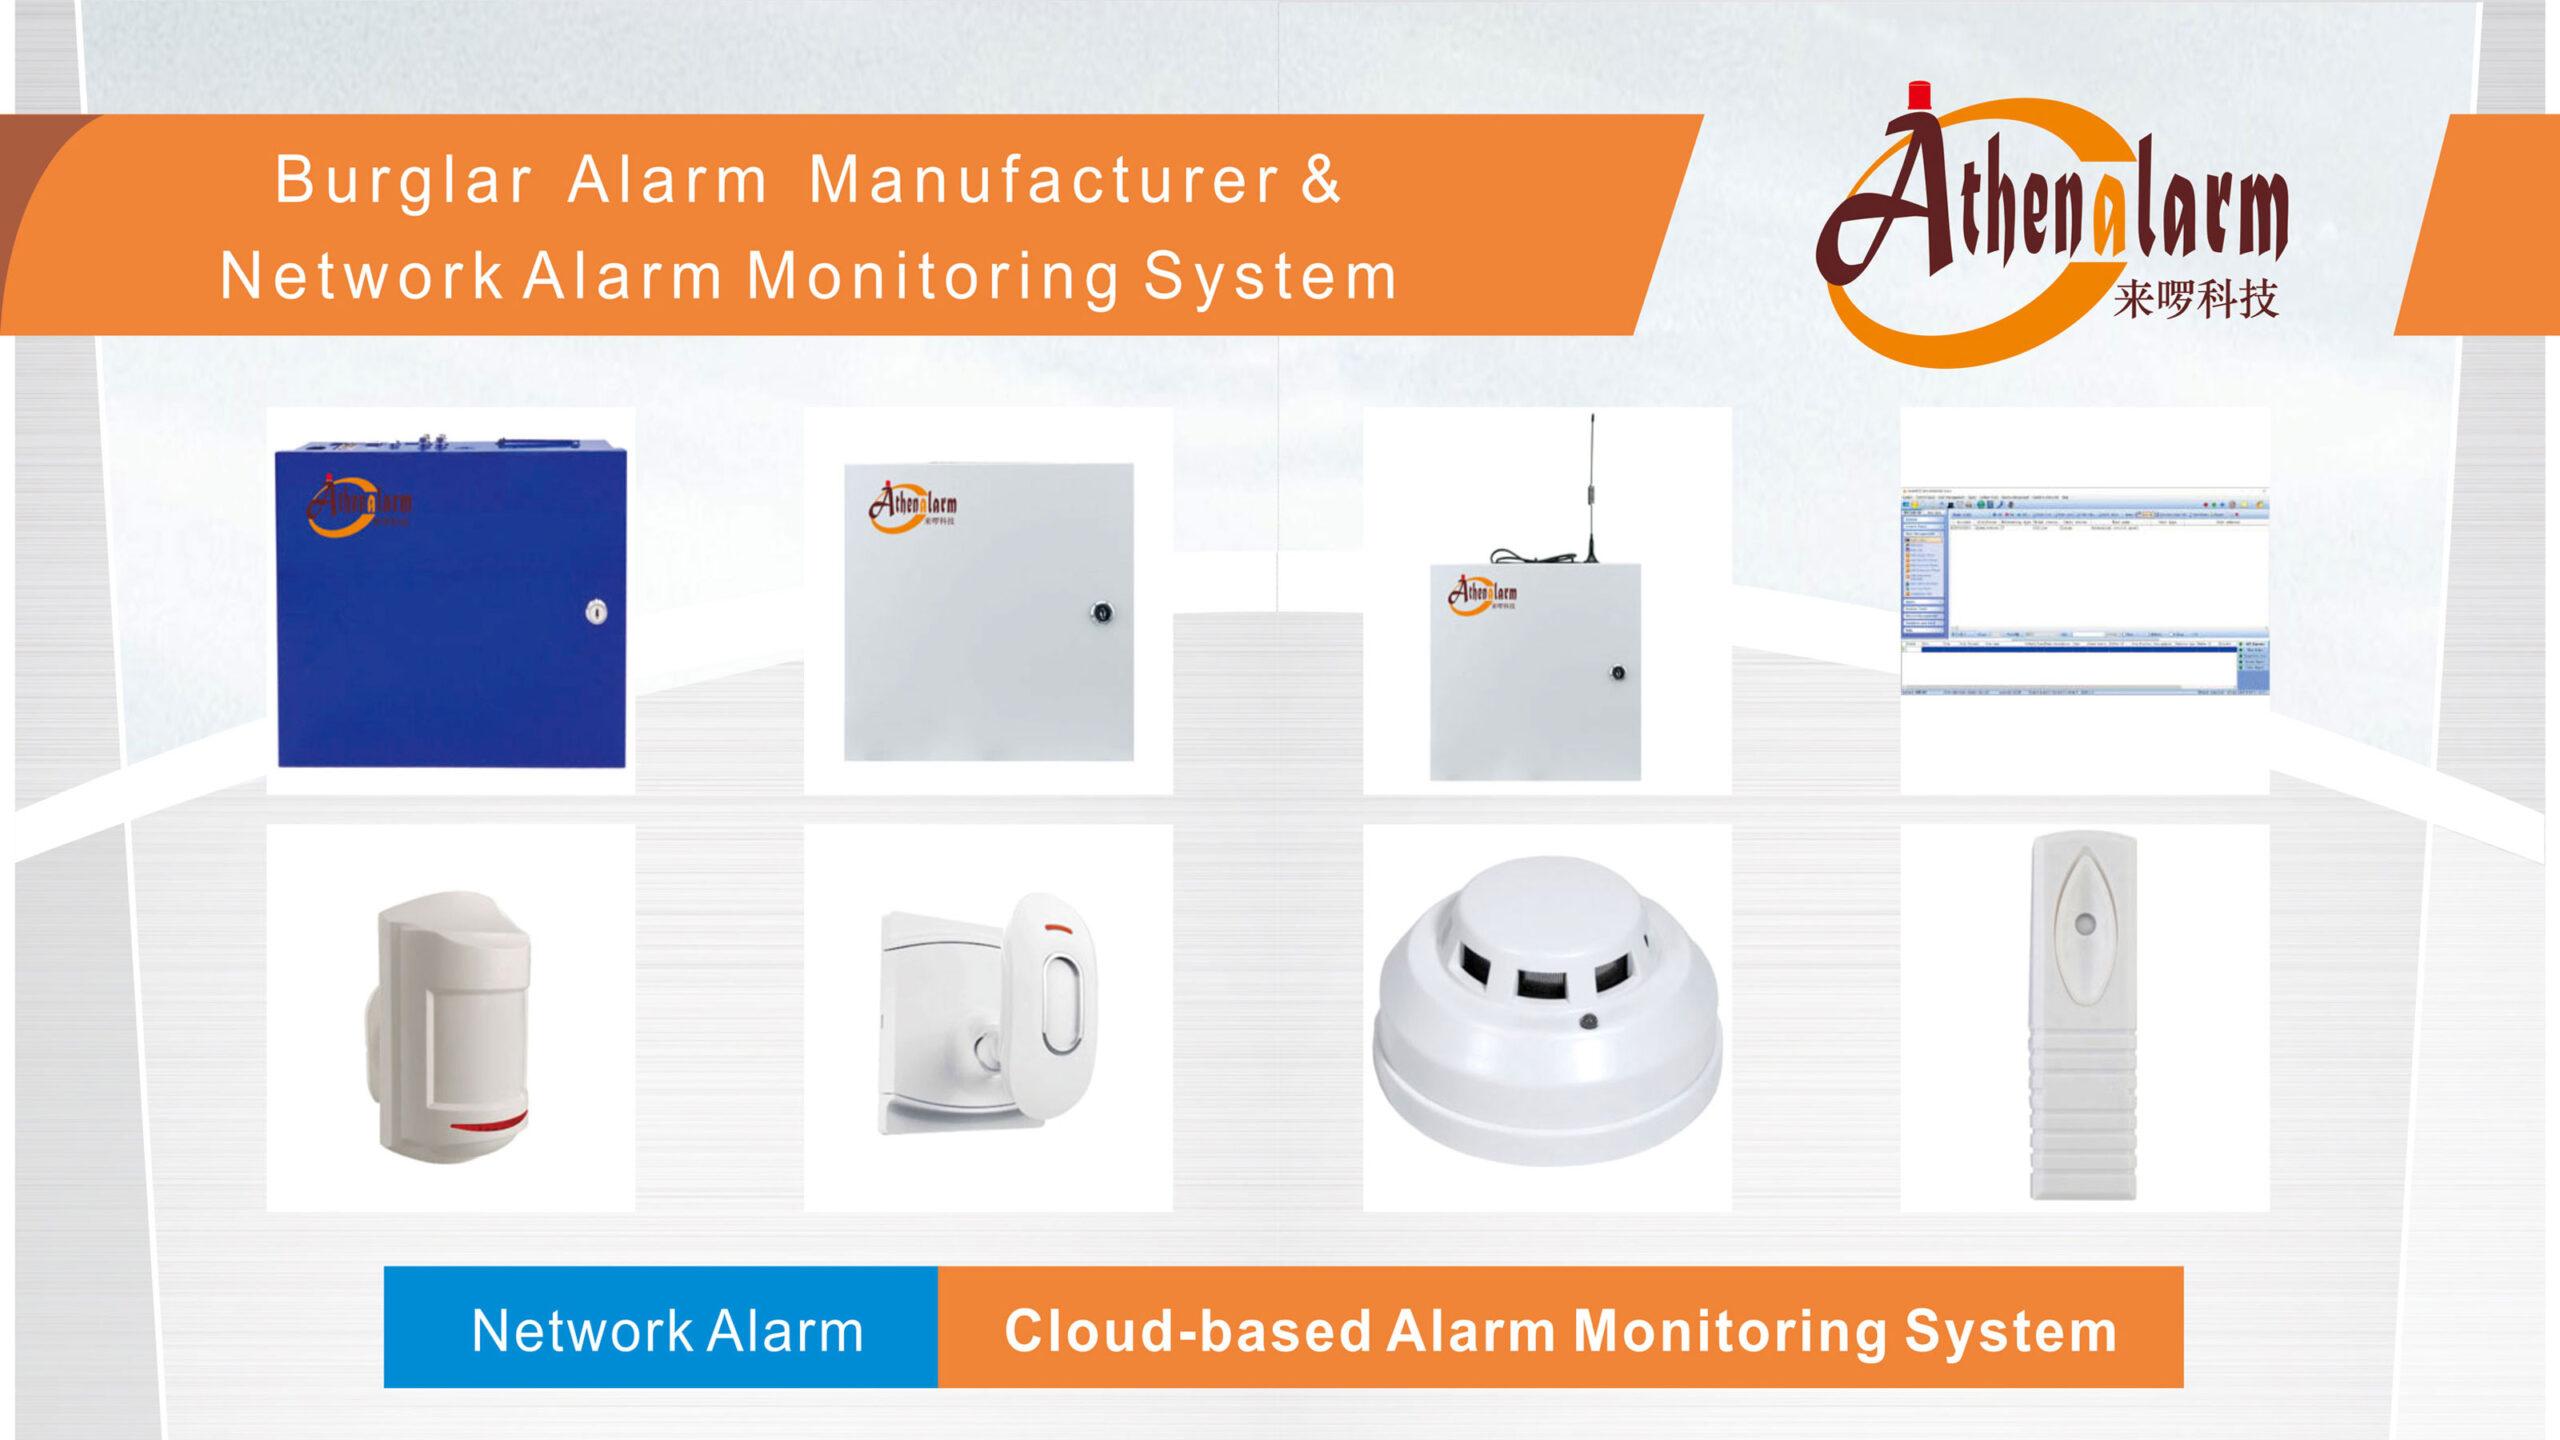
- Control Panel (CPU) – The central processing unit managing system logic and communication.
- Input Devices – Detectors and sensors such as PIRs, door contacts, vibration sensors.
- Output Devices – Audible/visual alarms, autodialers, or remote notifications.
- Communication Modules – Interfaces to transmit alerts via GSM, Ethernet, or cloud.
- Power Supply – AC-powered with battery backup for uninterrupted operation.
- Tamper Protection – Enclosures and tamper switches to detect sabotage attempts.
2. Key Components and Functions
2.1 Control Panels
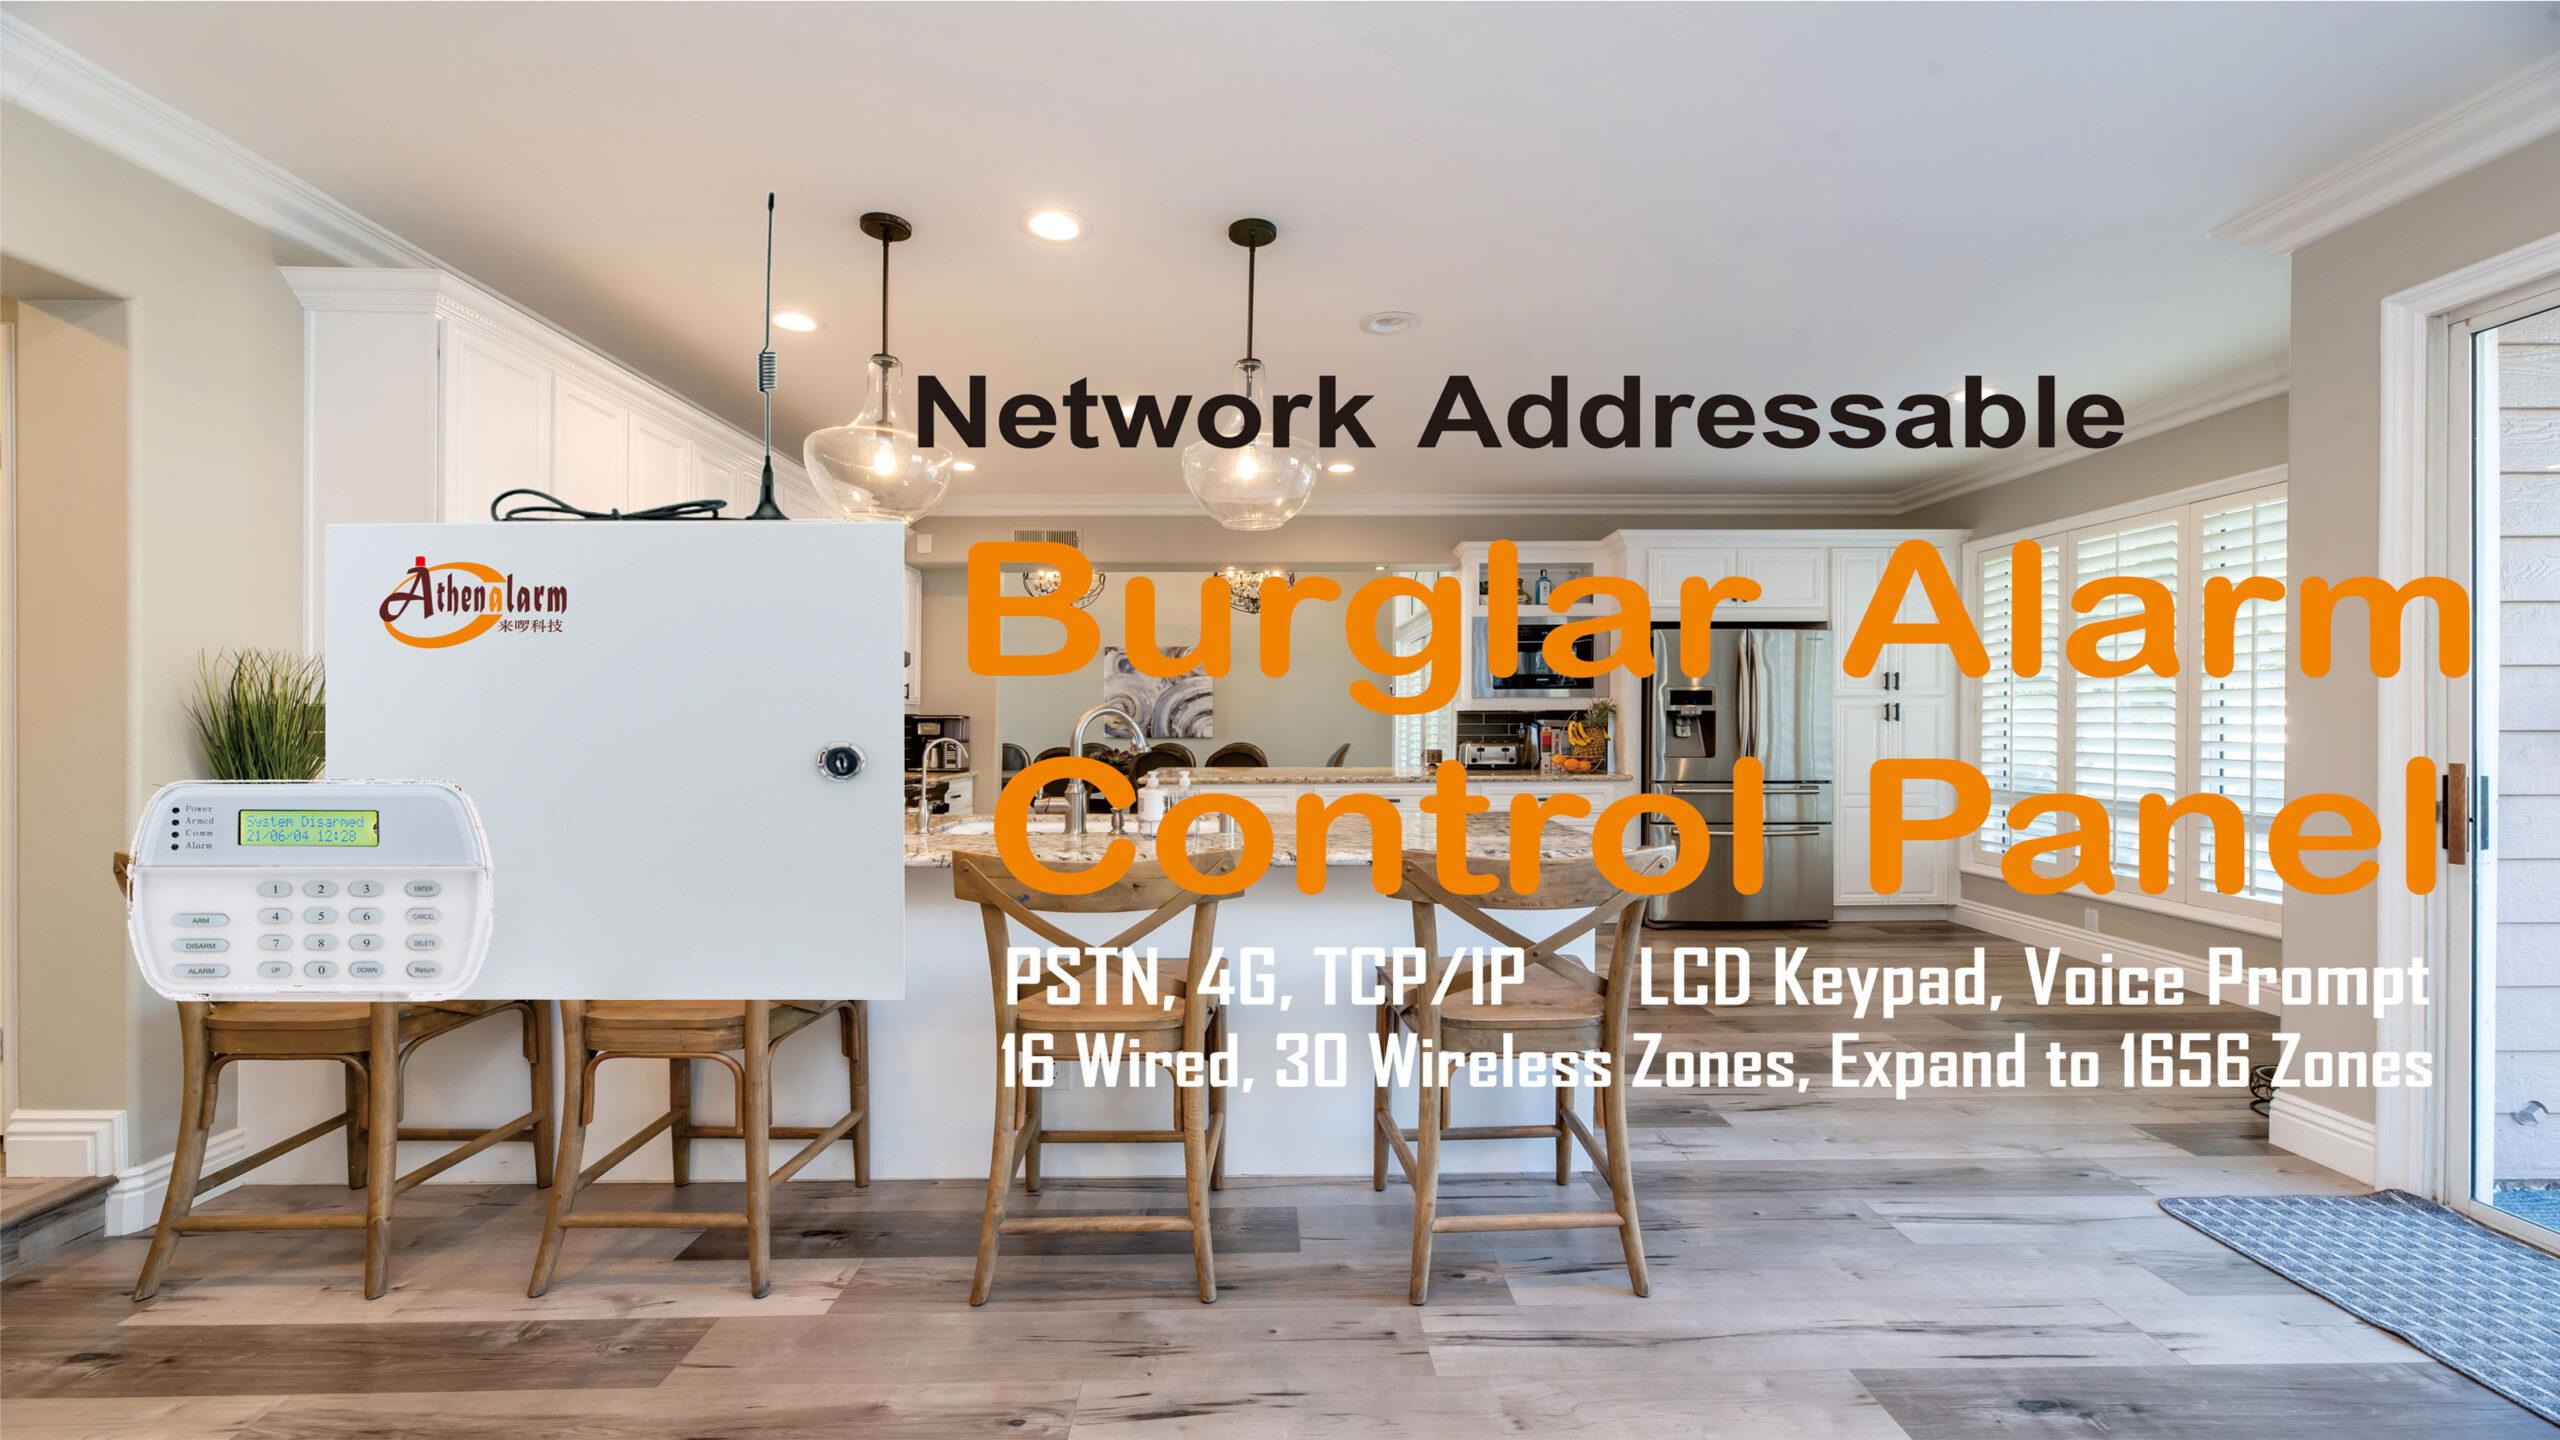
Control panels act as the nerve center of the alarm system, managing zones, user permissions, communication channels, and event logging.
- Standalone Panels – Suitable for small-scale installations.
- Hybrid Panels – Support both wired and wireless zones, ideal for retrofits.
- IP/Cloud-Based Panels – Enable remote monitoring and software updates.
2.2 Detection Devices
2.2.1 PIR (Passive Infrared) Sensors
Detect motion via infrared radiation emitted by warm bodies.
2.2.2 Dual-Tech Motion Detectors
Combine PIR and microwave technology to reduce false alarms.
2.2.3 Door/Window Magnetic Contacts
Trigger when doors or windows are opened, breaking the magnetic loop.
2.2.4 Glass Break Detectors
React to the specific frequency of shattering glass—either acoustic or vibration-based.
2.2.5 Shock/Vibration Sensors
Detect forced entry attempts involving impact or drilling.
2.2.6 Beam Detectors
Use infrared beams to cover large distances, especially useful for perimeter protection.
2.3 Alarm and Notification Devices
- Internal/External Sirens – Loud alerts to deter intruders and warn occupants.
- Strobe Lights – Provide visual alarms for high-visibility deterrence.
- Auto-Dialers – Place calls or send SMS when triggered.
- App Notifications – Real-time alerts through mobile or web platforms.
2.4 Communication Modules
- GSM/4G/5G – Wireless communication for remote or off-grid sites.
- Wi-Fi/Ethernet – For integrated smart buildings and modern facilities.
- Radio Frequency – Used in long-range or proprietary network solutions.
2.5 Tamper Detection Mechanisms
- Tamper Switches – Installed in enclosures to detect opening or sabotage.
- Reinforced Housings – Resist damage or unauthorized access.
3. Designing Effective Burglar Alarm Systems
3.1 Site Risk Assessment
Conduct a professional evaluation of the following:
- Number and type of entry points
- Area layout (open spaces vs. compartmentalized zones)
- Environmental conditions (temperature, humidity, lighting)
- Threat levels (public access, asset value, history of break-ins)
3.2 Zone Planning
Segment the protected area into logical “zones” for easier monitoring and response:
- Entry/Exit Zones – Main doors and commonly used access points.
- Interior Zones – Offices, corridors, high-value storage.
- Perimeter Zones – Windows, exterior doors, roof access points.
3.3 Wired vs. Wireless System Selection
| Feature | Wired Systems | Wireless Systems |
| Installation | Complex but secure | Quick and non-invasive |
| Cost | Higher (labor-intensive) | Lower upfront in retrofits |
| Maintenance | Lower (fewer batteries) | Requires regular battery changes |
| Flexibility | Less flexible | Highly flexible |
| Scalability | Medium | High (easy to add new sensors) |
3.4 Integration with Other Systems
Ensure compatibility with:
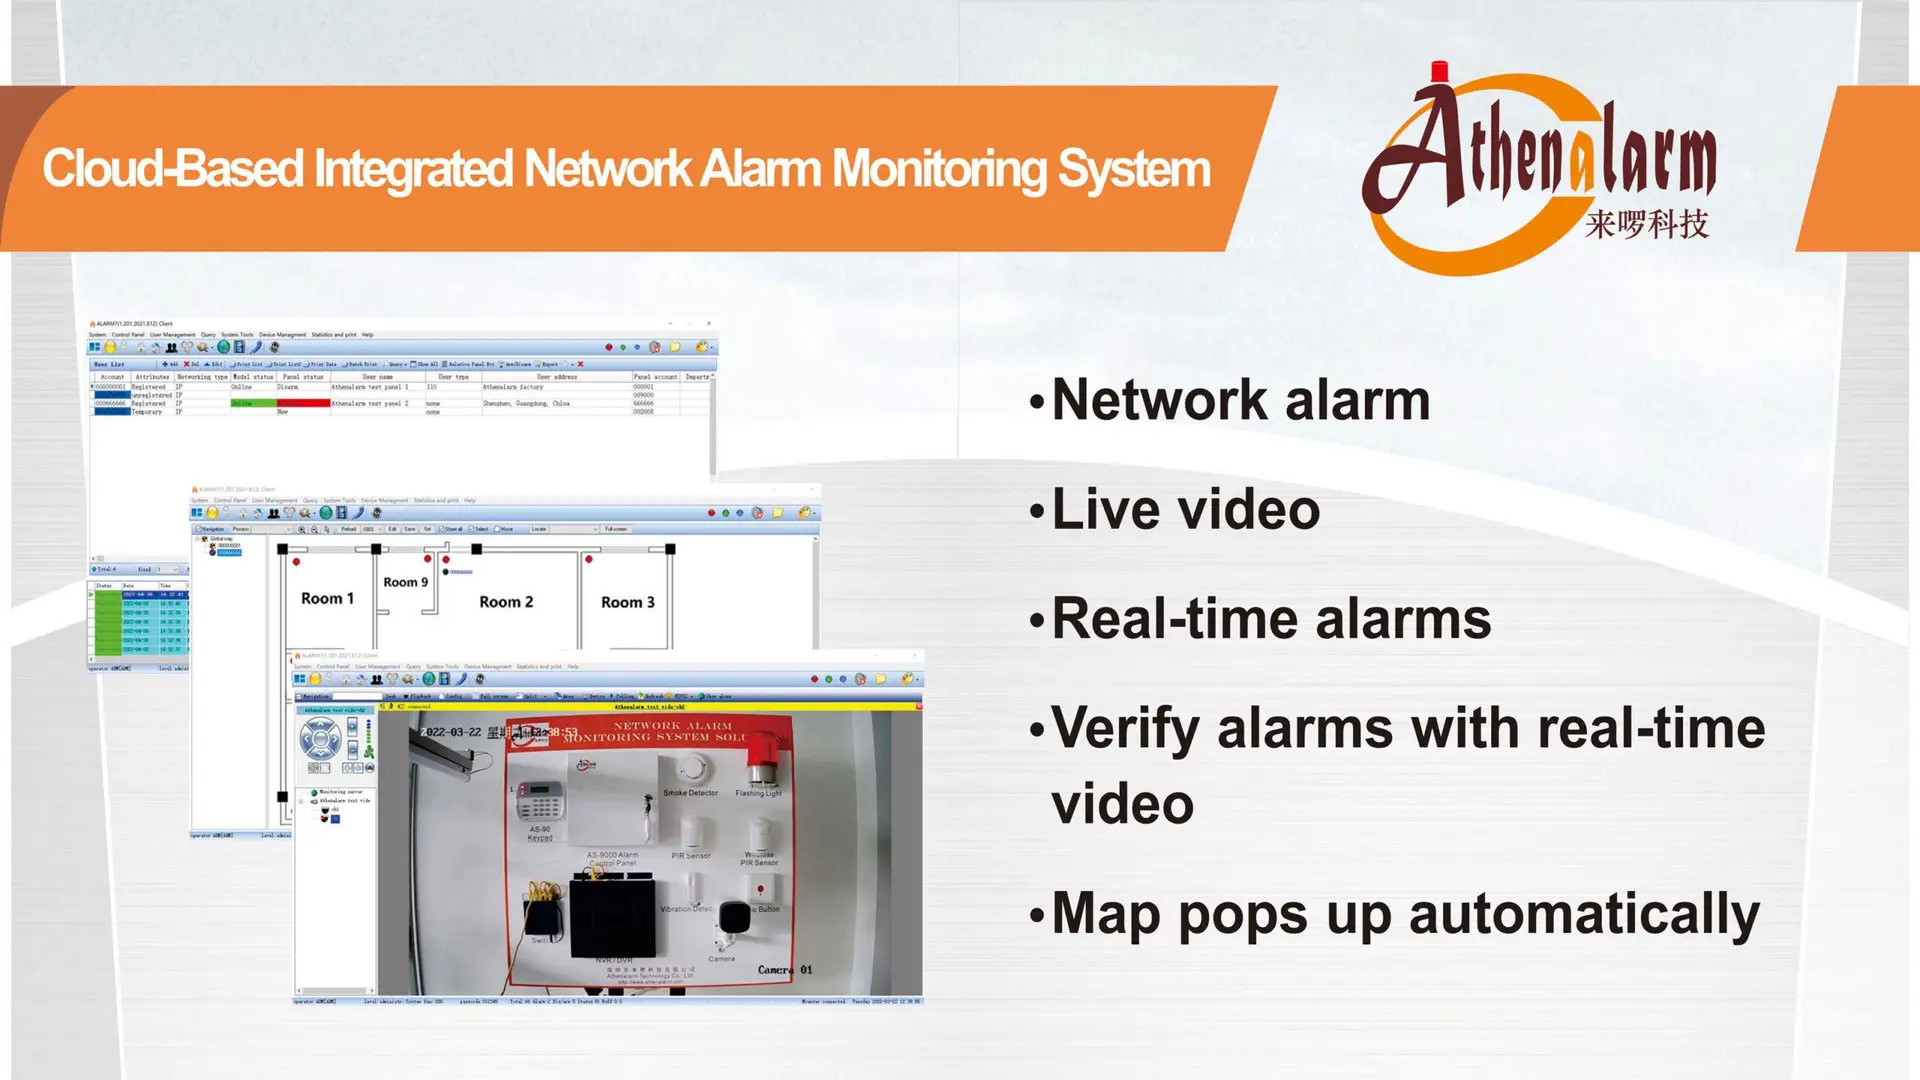
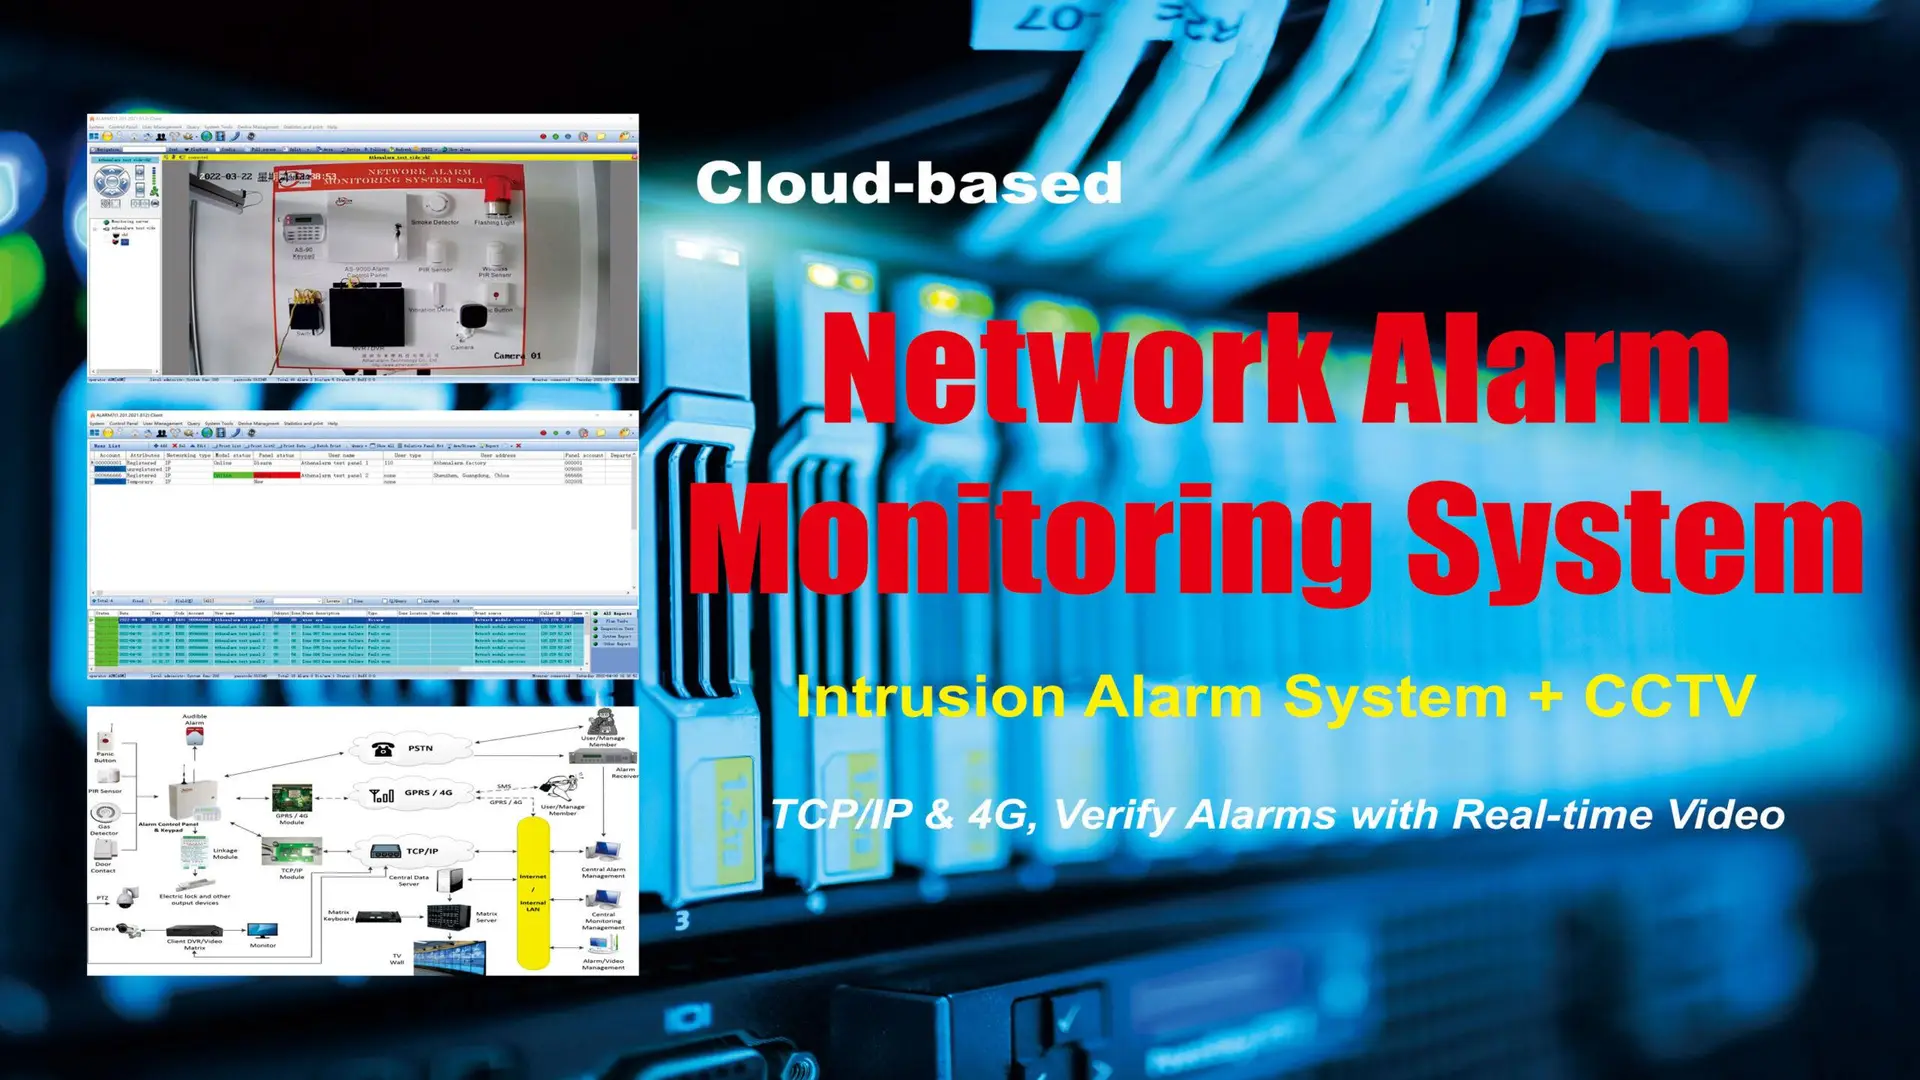
- CCTV Systems – Link video verification with triggered alarms.
- Access Control Systems – Manage user entry based on alarm status.
- Fire Detection Systems – Dual-use panels for fire and burglary.
- Home/Building Automation – Lights, locks, HVAC integration.
3.5 Compliance and Scalability
- Follow UL, CE, or EN 50131 standards as applicable.
- Ensure system supports remote firmware updates.
- Plan for 15–30% expansion margin in control panel and power capacity.
4. Installation Guidelines and Best Practices
4.1 Pre-Installation Preparation
- Confirm power and data cabling routes.
- Mark all sensor positions on blueprints.
- Check for wireless interference (if applicable).
- Ensure compliance with building and fire codes.
4.2 Step-by-Step Installation
- Mount Control Panel – In a secure and central location.
- Install Sensors – According to layout; avoid heating vents and reflective surfaces.
- Wire and Connect Devices – Use tamper-proof conduits where necessary.
- Connect Power Backup – Secure battery backup and surge protection.
- Configure System Logic – Assign zone labels, entry/exit delays, and user codes.
- Test System – Simulate multiple intrusion scenarios and check alert delivery.
4.3 Installation Do’s and Don’ts
- Use professional-grade mounting hardware.
- Test all sensors after installation.
- Avoid pointing PIR sensors at windows or HVAC ducts.
- Do not route alarm wires near high-voltage lines.
- Label all wires and connections clearly.
5. Maintenance, Troubleshooting, and Optimization
5.1 Routine Maintenance Tasks
- Monthly walk tests of sensors and zones
- Battery health checks (replace wireless sensor batteries every 12–18 months)
- Firmware and software updates for control panels
- Clean lenses and housing of sensors
5.2 Common Issues and Solutions
| Symptom | Likely Cause | Recommended Action |
| Frequent false alarms | Pets, HVAC drafts, sensor misalignment | Adjust sensor placement/settings |
| Communication failure | Weak signal, dead SIM, server issues | Check module, replace SIM |
| Sensor offline | Dead battery or wiring issue | Replace battery or inspect cable |
5.3 Professional Maintenance Schedule
- Quarterly: Full system inspection
- Bi-annually: Replace backup battery
- Annually: Firmware update and full diagnostics
6. Regulatory Compliance and Legal Considerations
- Follow regional codes such as NFPA 731 (U.S.) or EN 50131 (EU).
- Post visible signage indicating the presence of an alarm system.
- Adhere to GDPR or relevant data privacy laws for video/audio integration.
- Ensure monitoring centers meet standards (UL 827, ISO 9001).
7. Emerging Technologies in Burglar Alarm Systems
7.1 AI and Machine Learning
- Behavioral detection algorithms to reduce false alarms
- AI-powered video analytics for facial recognition
7.2 Cloud-Based Monitoring Platforms
- Real-time dashboard access from mobile devices
- Centralized control for multi-site enterprises
7.3 Integration with Smart IoT Devices
- Voice assistant compatibility (Alexa, Google Home)
- Automated locking and environmental control
8. Choosing the Right Burglar Alarm System: B2B Considerations
8.1 Vendor Evaluation Criteria
- Proven track record and certifications
- Product scalability and upgrade path
- Technical support and training availability
8.2 TCO (Total Cost of Ownership)
Include:
- Hardware + installation
- Software licensing fees
- Maintenance and battery replacement
Staff training and monitoring service fees
9. Conclusion
A professionally designed and installed burglar alarm system is an indispensable part of modern security infrastructure. For security professionals, mastering the technology, regulatory environment, integration possibilities, and maintenance best practices empowers you to design systems that not only deter and detect threats but also adapt to evolving risks and organizational needs.
Whether deploying a new system, upgrading an existing one, or integrating with broader security platforms, this guide provides the strategic and technical foundation needed for optimal decision-making in the B2B security space.
