6 Fatal Security System Installation Mistakes—and How Experts Avoid Them
1. Introduction: Why Security System Installation Matters
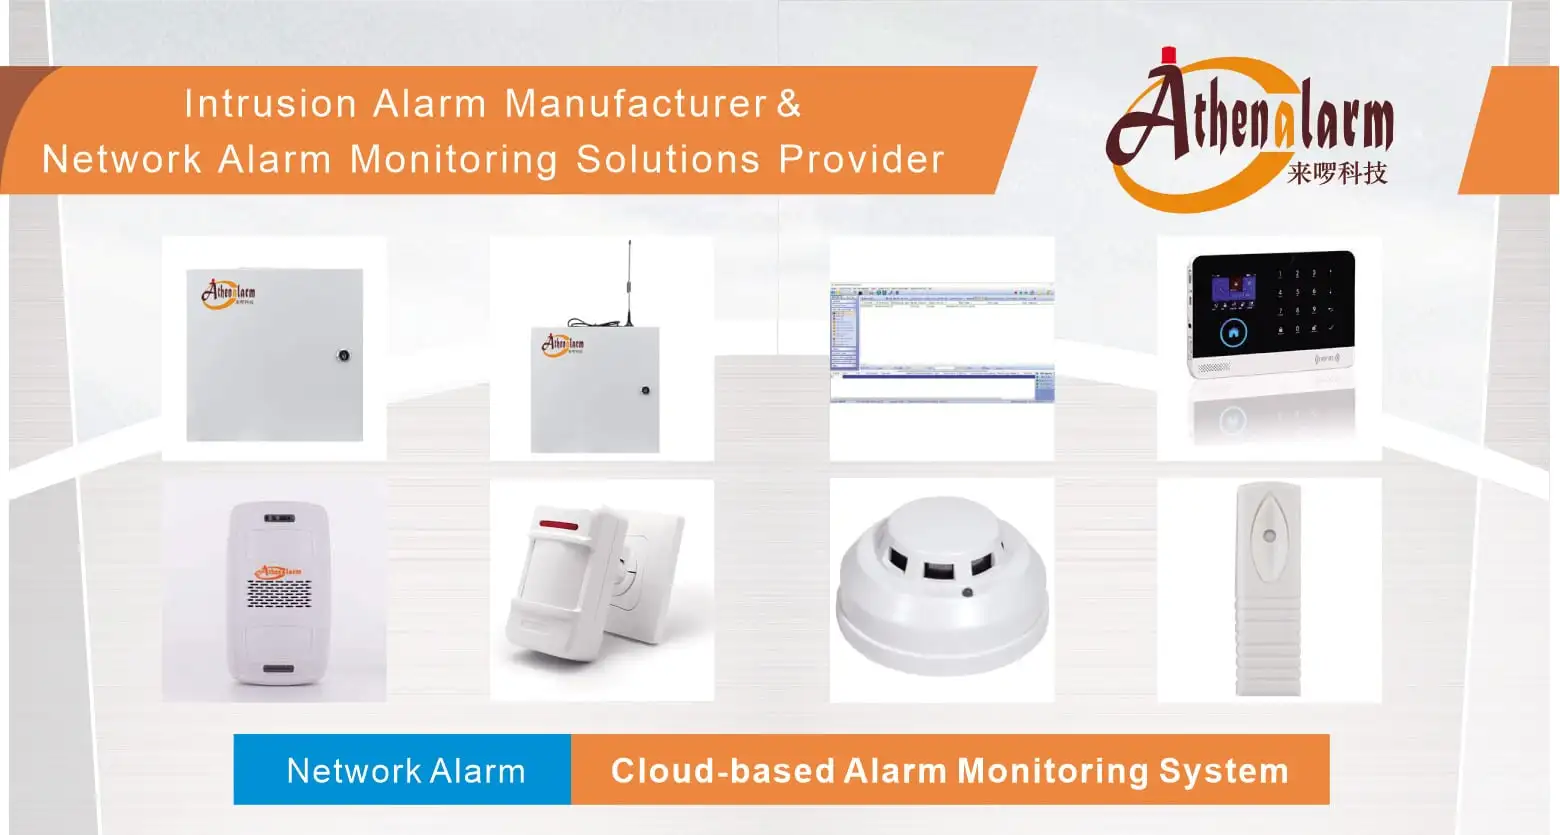
As an expert in security alarm systems, I’ve overseen installations in hospitals, factories, retail complexes, and smart offices. I understand that “Security System Installation” isn’t just a checkbox task—it’s a comprehensive engineering process. When executed poorly, even the best-endowed system can lag, falter, or expose vulnerabilities. My mission here is to share six fatal mistakes that frequently undercut system performance, and how we systematically eliminate them.
In the security industry, Security System Installation is the foundational stage that determines system lifespan, reliability, and ROI. It requires:
- Site‑specific planning (architecture, RF mapping, threat profiling)
- Robust infrastructure (materials, sensors, wiring)
- Rigorous QA (signal testing, tamper checks, failover)
By mastering these installation stages, companies minimize false alarms, service costs, and compliance risks—key ROI drivers in B2B deployments.
2. 6 Critical Mistakes and Proven Solutions
2.1 Mistake #1 – Wrong Installation Location
Why It Happens:
Placing panels or detectors in arbitrary spots often leads to overlooked interference, blind coverage, or tampering vulnerability.
Real‑World Consequences:
- Relocation costs exceed 50% of original setup budget
- RF interference from appliances, steel, or ductwork causes unreliable sensor communication
- Detection failure if PIR faces AC vents or reflective glass
My Expert Approach:
- Site Survey: Use digital blueprints and on-site walkthroughs
- Panel Placement: Near power/data with RF range ≥ 30m, height ≤ 1.6m
- Sensor FOV Test: Temporarily mount and walk test before sealing
Professional Tip:
I deploy a portable RF field meter and mark optimal points; this minor step preempts months of troubleshooting.
2.2 Mistake #2 – Substandard Materials (Piping, Cabling, Connectors)
Why It Happens:
Budget pressures tempt teams to buy cheap PVC, loose connectors, or non-shielded cables.
Risks:
- PVC warps or breaks under stress
- Exposed cables vulnerable to tampering and wear
- Bad crimps cause intermittent failures
Solution Path:
- Use galvanized/metal conduits, flame-retardant and UV-rated
- Use shielded twisted-pair/coaxial cables in industrial environments
- Enforce certified connectors, proper crimp tools, and tape
Professional Tip:
Treat infrastructure like permanent building features. Good materials reduce lifecycle costs by ~40%.
2.3 Mistake #3 – Skipping Installation Brackets
Why It Happens:
Brackets are often seen as avoidable overhead or extra cost.
Symptoms:
- Misaligned detectors cause blind spots or false triggers
- Mounting on uneven surfaces stresses hardware
- Service becomes difficult when sensors are mounted flush
How I Fix It:
- Use adjustable brackets for ceiling/wall angles
- Standardize bracket models across site
- Confirm wall type before bracket use (avoid drywall alone)
Professional Tip:
For multi-site rollout, I include bracket kits by device model to enforce consistency in the field.
2.4 Mistake #4 – Poor Equipment & Wiring Concealment
Concept:
Visible cables and control boxes are easy targets.
Downsides:
- Enables burglars to trace and disable
- Unkempt appearance affects client trust
- Exposed wiring may violate fire codes
Best Practices:
- Plan conduit paths in early design
- Use false walls, ceilings, cable trays
- Use IP66+ tamper-proof enclosures outside
Professional Tip:
I collaborate with architects to embed cable trays before drywall—minimizes visibility and future disruptions.
2.5 Mistake #5 – Wrong Cable Length
Why Incorrect Cable Length Happens:
Installers “eyeball” cable lengths instead of precise measurement.
Results:
- Too short: tension on connections
- Too long: cable clutter, voltage drop, EMI
My Approach:
- Pre-calculate cable lengths with 10% slack
- Coil excess neatly and label each
- Maintain cable length logs and maps
Professional Tip:
Cable tagging with circuit ID and device location cuts troubleshooting time by ~60%.
2.6 Mistake #6 – Neglecting the Tamper Switch Signal
Why It’s Fatal:
Tamper circuits are often wired to zone inputs or skipped entirely—this renders them ineffective.
Impacts:
- Detector removal isn’t detected
- Zones go silent after tampering
- Violates security regulations in high-security zones
Best Practice:
- Always use six-core cable or more
- Dedicated 24/7 tamper terminal on alarm panel
- Simulate removal in QA test, verify alert
Professional Tip:
I integrate tamper triggers into mobile alert systems and trigger CCTV pop-ups upon breach for real-time response.
3. The Operational Impact in B2B Environments
In B2B deployments—whether smart offices, data centers, or manufacturing floors—installation maturity directly correlates with:
- Uptime: Proper QA prevents repeat visits
- Compliance: Tamper/verification align with ISO, UL, NFPA
- Brand trust: Neat, hidden wiring reinforces professionalism
- Scalability: Standardized installs ease maintenance rollouts
4. My Proven Risk Mitigation Framework
- Pre‑Project Site Audit: layout, material review, RF survey
- Material Integrity Checks: certificates, specs, burn-in tests
- On‑site Installation Procedure: checklist, bracket placement, wire management
- Commissioning: RF mapping, FOV, tamper simulation
- Handover Package: as‑built diagrams, cable logs, QA checklists
- Post‑Installation Support: remote diagnostics, firmware updates
This structured yet flexible methodology enables efficient scaling while maintaining high reliability.
5. Conclusion
“Security System Installation” is not a commodity—it’s a critical discipline whose quality dictates system effectiveness, lifespan, and user trust. By systematically avoiding these six key errors, you can reduce false alarms, lower maintenance costs, and enhance physical safety.
6. FAQ
What is “security system installation” and why does precision matter?
Answer: Security system installation is the full process of planning, mounting, wiring, and commissioning alarm and detection devices. Precision matters because small errors—like misplacement or poor cabling—can lead to system failure, false alerts, or non-compliance.
How do I choose the right location for sensors in commercial spaces?
Answer: Conduct a site survey, evaluate potential interference, and use temporary mounts with walk‑tests before finalizing placement.
What cable types are ideal for long‑term reliability?
Answer: Use shielded twisted‑pair or coaxial cables in noisy environments, and choose UV‑rated, waterproof cables for external runs.
Do I really need installer-grade brackets?
Answer: Yes—brackets ensure proper sensor alignment, enable secure mounting, and simplify servicing, thus improving system performance.
What is tamper-protection and how should it be wired?
Answer: Tamper protection measures unauthorized opening or removal of devices. It must be wired through a dedicated tamper terminal with all cabling intact, never bypassed or omitted.
Can poor installation void system warranty?
Answer: Often yes. Manufacturers may deny support if incorrect materials, poor mounting, or missing tests are documented during installation.
Is there a standard installation checklist I can apply?
Answer: Yes—download our comprehensive checklist that covers pre-install audits, cabling, material verification, and commissioning steps.
How do I ensure ADA compliance for control panel placement?
Answer: Mount panels at ≤1.2 meters height for wheelchair access, ensure clearance, and avoid obstructive placements.
What tools ensure quality during installation?
Answer: I use RF strength meters, thermal cameras, cable testers, and adjustable mount simulators to verify placement and performance.
Can I outsource these inspections effectively?
Answer: Yes—but only to certified integrators who follow formal commissioning procedures, and who provide QA documentation.
