

Complete Guide to Alarm System Installation
As security concerns continue to grow, individuals, families, and businesses increasingly rely on burglar alarm systems for theft prevention and deterrence. The proper installation of a burglar alarm system plays a crucial role in its performance, and it should be tailored to the specific needs of the environment. This guide provides detailed instructions for installing a burglar alarm system.
1. Basic Requirements for Burglar Alarm System Installation Design
(1) Design Considerations
The design of your alarm system installation should be customized based on the protection area’s size, layout, and specific needs. Consider the following:
- Protection Area: What needs to be covered? The layout, high-risk zones, and any specific areas of concern should be identified.
- Type of Detectors: Select appropriate detectors (motion sensors, door/window contacts, glass break detectors, etc.) based on the protection requirements.
- Environmental Factors: Consider temperature, humidity, and potential sources of interference like electronics or heat.
(2) Determining Installation Positions for Detectors
When selecting locations for detectors, consider the following:
- Effective Coverage: Ensure that the detectors cover the full area they are meant to protect without being obstructed.
- Position, Angle, and Height: Install detectors at the optimal height and angle to maximize coverage. For wall-mounted detectors, place them around 2.3 meters high. Ceiling-mounted detectors should be placed between 2.4 meters and 4.8 meters.
Tip: Install detectors in hidden locations to reduce the risk of tampering, but make sure they still offer full coverage.
(3) Concealment of Wiring
To prevent damage or tampering, wiring should be concealed as much as possible. Use the following methods:
- Protective Conduits: Use threaded or plastic tubing to protect wires from rodents and environmental damage.
- Avoid High-Risk Areas: Avoid running cables in areas that are exposed or near high-traffic zones, windows, or entry points.
(4) Documentation
Construction drawings should detail the type and specifications of each detector and cable. Each cable color should be marked according to its purpose (e.g., red for positive, black for negative). Retain these drawings for future maintenance and troubleshooting.
2. Alarm Control Panel Installation
(1) General Installation Guidelines
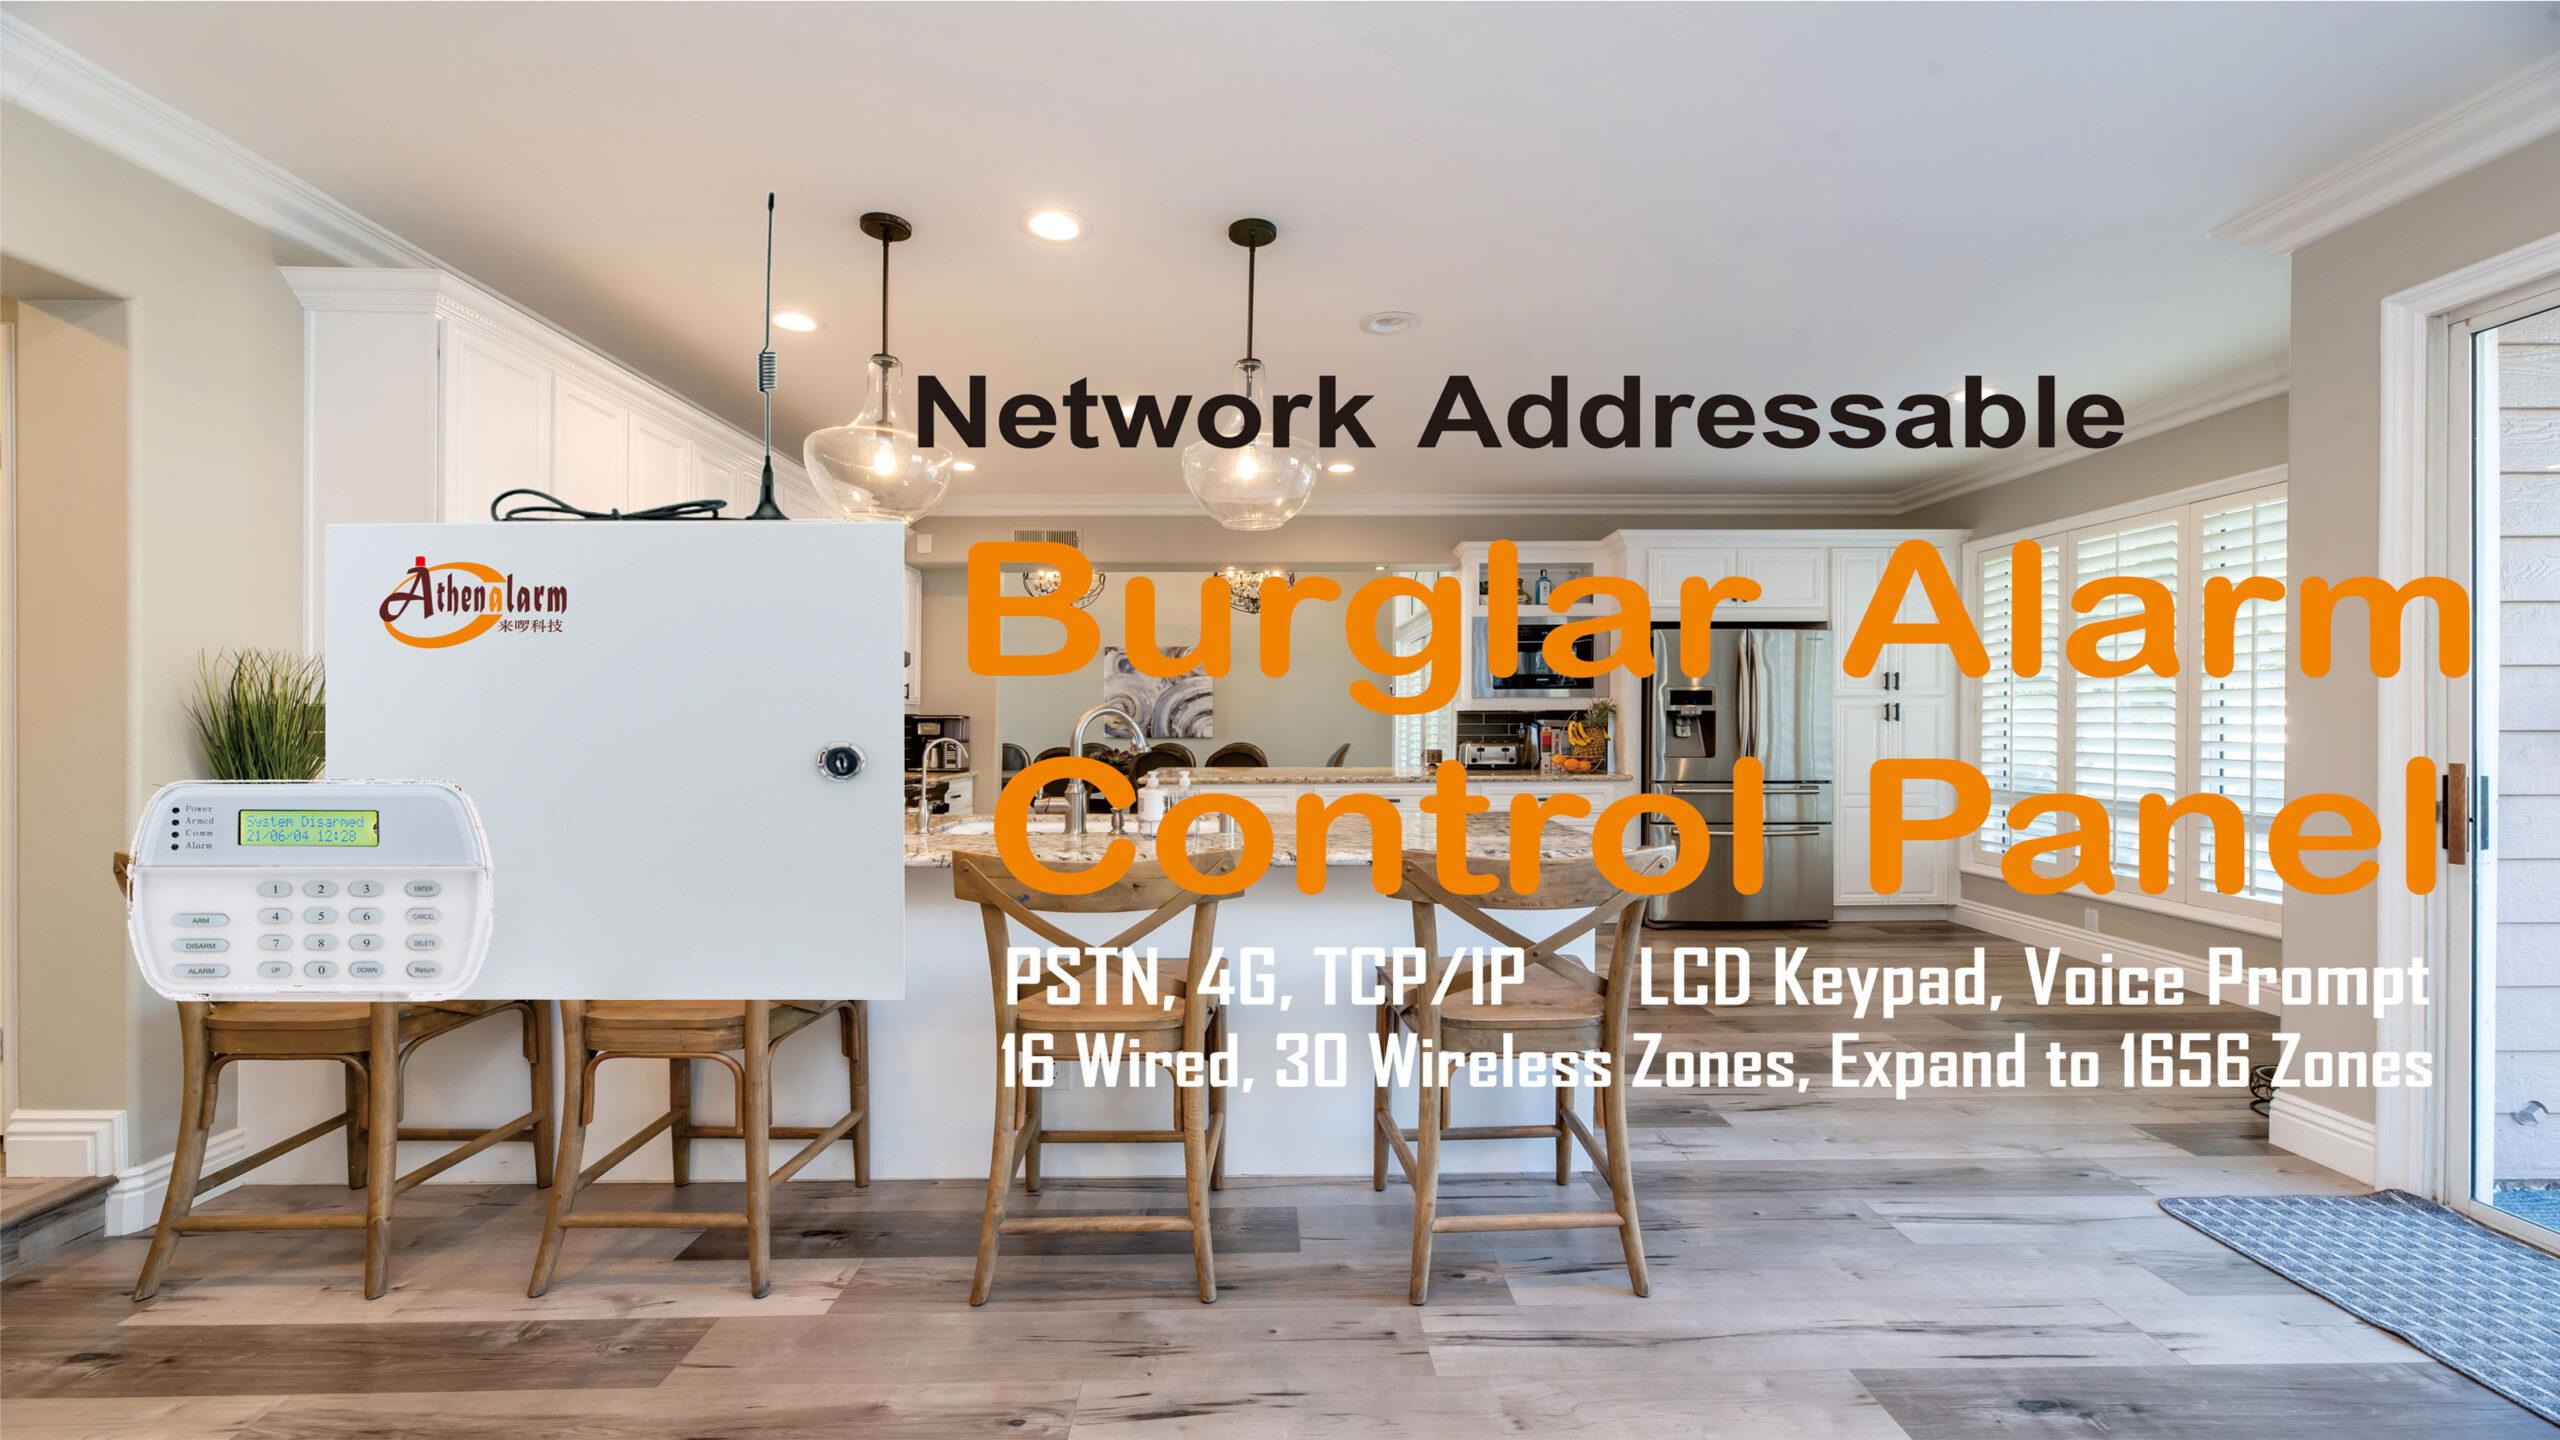
The control panel is the brain of your alarm system, and its placement is crucial:
- Avoid Hazardous Locations: Never install the control panel in areas with high concentrations of flammable gases, dust, or vapors.
- Concealed Installation: Install the panel in a hidden area to reduce tampering risks, but ensure it’s still accessible for maintenance.
- Unobstructed Horn: Ensure the control panel’s built-in alarm horn is not obstructed to maintain maximum effectiveness.
Tip: Avoid placing the control panel near sources of strong electromagnetic radiation (e.g., televisions, microwaves, computers) to prevent interference.
(2) Wireless Alarm Control Panel Installation
For wireless systems:
- Location: Place the control panel away from metal objects, which can absorb radio waves and reduce reception distance.
- Antennas: Fully extend indoor rod antennas, and for outdoor antennas, install lightning protection to prevent damage.
(3) Wired Alarm Control Panel Installation
For wired control panels:
- Cabling: Use four-core cable for each zone in the alarm system. Ensure cables meet industry standards.
- Wire Terminals: Ensure that wire terminals are not excessively exposed—keep them at around 5mm. Longer terminals can cause poor connections and potential system failure.
- Secure Connections: Lock all wiring connections to prevent loosening and false alarms.
- Concealment: Use concealed wiring methods to prevent tampering.
- Battery Connections: Double-check the polarity of the battery connections—red for positive, black for negative.
3. Detector Installation
(1) Basic Installation Principles
To ensure effective detection:
- Wall-mounted Detectors: Install them indoors, ensuring they’re not directly facing doors or windows.
- Ceiling-mounted Detectors: Position them facing the center of the protected area, avoiding direct alignment with windows.
(2) Avoiding False Alarm Triggers
To minimize false alarms, avoid installing detectors near:
- Heat/Cold Sources: Avoid placing detectors near air conditioners, heaters, refrigerators, or vents, as these can cause temperature fluctuations that trigger false alarms.
- High-Traffic Areas: Ensure detectors are not placed near locations where people or animals frequently pass.
Tip: For buildings near streets or high foot traffic, consider placing motion detectors on the interior side of walls or ceilings to avoid false alarms from external sources.
(3) Choosing Detector Locations
- Wall-mounted Detectors: These are most sensitive when the target moves within the horizontal field of view of the infrared sensors.
- Microwave Detectors: These are sensitive to movement parallel to the microwave beams.
For door/window protection, avoid installing the detector directly facing the door, as this can slow response times and increase false alarms. Ensure that the detection zone is unobstructed.
(4) Installation Height
- Wall-mounted Detectors: Typically installed around 2.3 meters from the floor.
- Ceiling-mounted Detectors: Install between 2.4 meters and 4.8 meters from the floor.
(5) Secure Installation
Ensure the surface where detectors are mounted is stable. Avoid installing detectors on vibrating surfaces (e.g., shaking walls or ceilings), as this can lead to false alarms.
4. Installation Precautions
(1) Avoid Hazardous Environments
Never install detectors or control panels in areas with:
- Direct sunlight
- High temperatures
- Excess moisture or rain
- Strong vibrations
- Chemical exposure or corrosion
- Excessive dust
(2) Wireless Systems
For wireless alarm control panels and detectors:
- Antenna Extension: Fully extend antennas to ensure optimal signal reception.
- Avoid Metal Obstructions: Keep the system away from large metal objects that can block signals.
(3) Power Issues
If abnormal conditions occur after powering up the system, disconnect the power immediately and troubleshoot before turning it back on.
(4) Live Work Prohibited
Do not perform live electrical work during installation to avoid risks of electric shock and system damage.
(5) Verify All Connections
Before powering on, check all wiring and connections to ensure they’re correct. Double-check all components for proper installation.
(6) System Testing
After installation, thoroughly test the system. Verify that all detectors, sensors, and the control panel are functioning correctly. Once the tests are successful, the system is ready for use.
5. Conclusion
Proper installation of a burglar alarm system is critical for its effectiveness. By following these guidelines, you can ensure that your system provides optimal protection while reducing the likelihood of false alarms and system failures. Always select the right components, position detectors correctly, and secure all wiring. Regular testing and maintenance are essential for long-term system reliability.
